The GUI installer
The GUI installer is a Graphical User Interface that will guide you step by step in the process of installing JNRPE. When the installation will be finished, it will leave you with a working JNRPE instance (a service on Windows or a daemon on Linux) that just needs to be configured to meet your needs.
Run the installer
On windows, you can simply double-click on your installer file. On the other platforms or if double clicking doesn't work for you, the following command can be used:
java -jar jnrpe-server-install-{your-jnrpe-version}.jar
important
The java command must be in your PATH
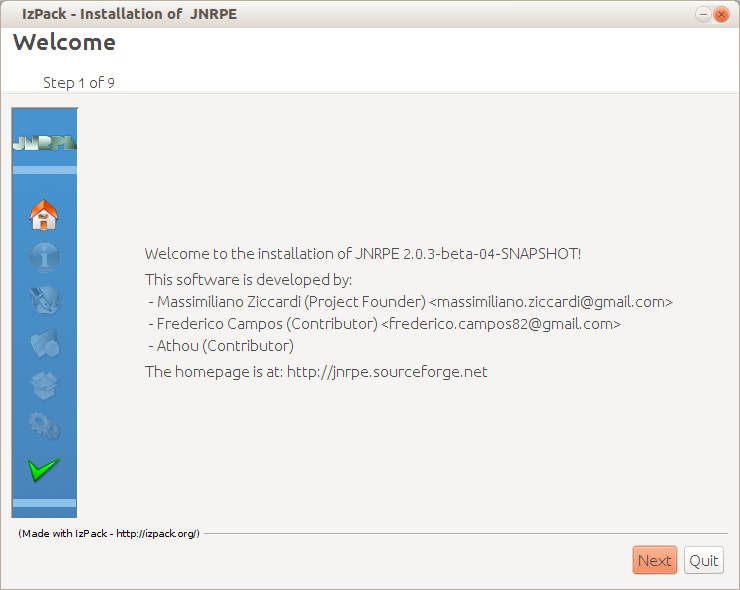
The Welcome Panel
The installation starts with a welcome page listing all the project contributors. Click next: the overview page will
appear.
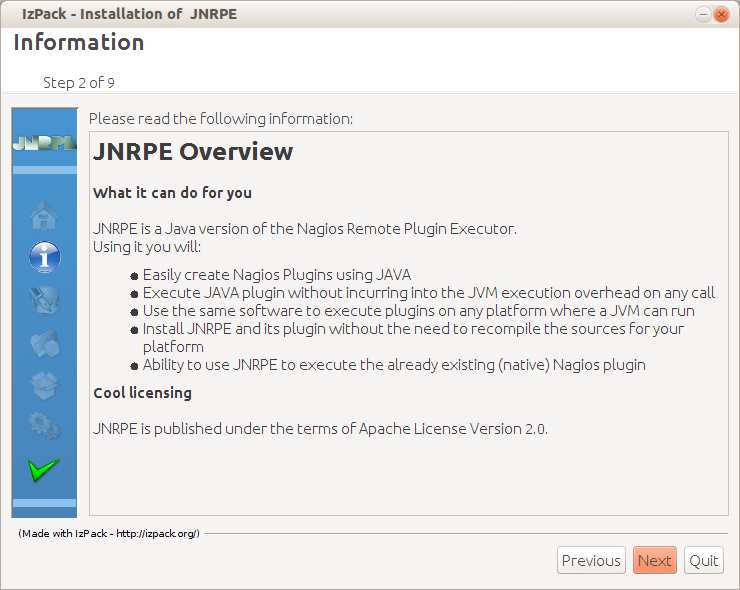
The Overview Panel
This page contains a brief description of what JNRPE can offer to you. Click next: the License Agreements page will appear.
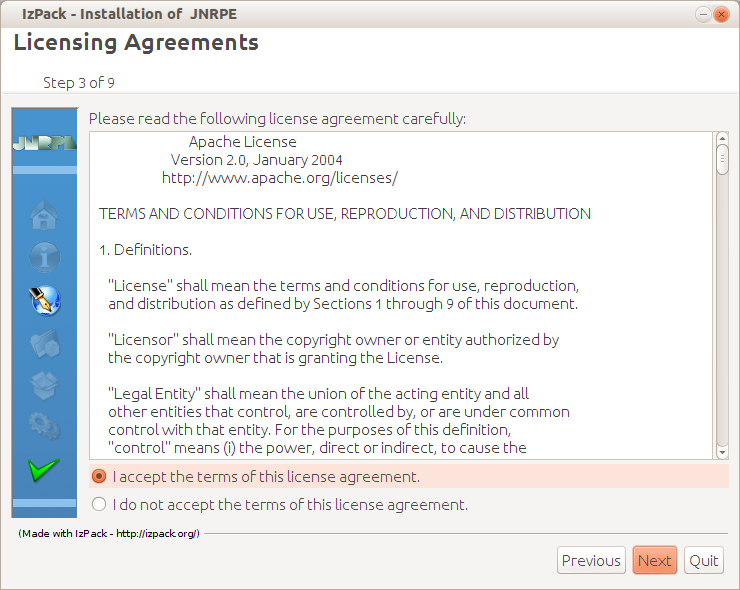
The License Panel
The software license is visualized. You must read and accept it to proceed with the installation. When you are ready, click Next: the target path panel will appear.
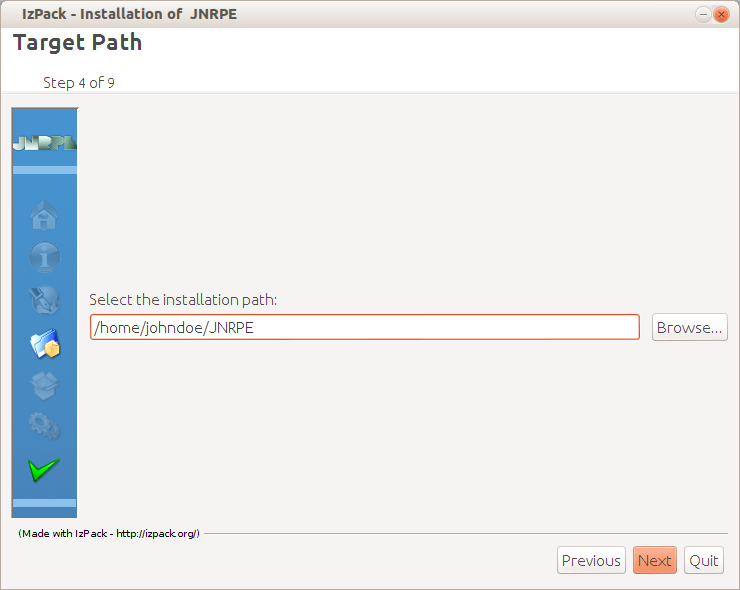
The Target Path Panel
Here you have to choice to change the directory where JNRPE will be installed. If you are happy with the default settings, simply press next, otherwise change the path as you prefer. When you are happy, click next: the installation packages panel will appear.
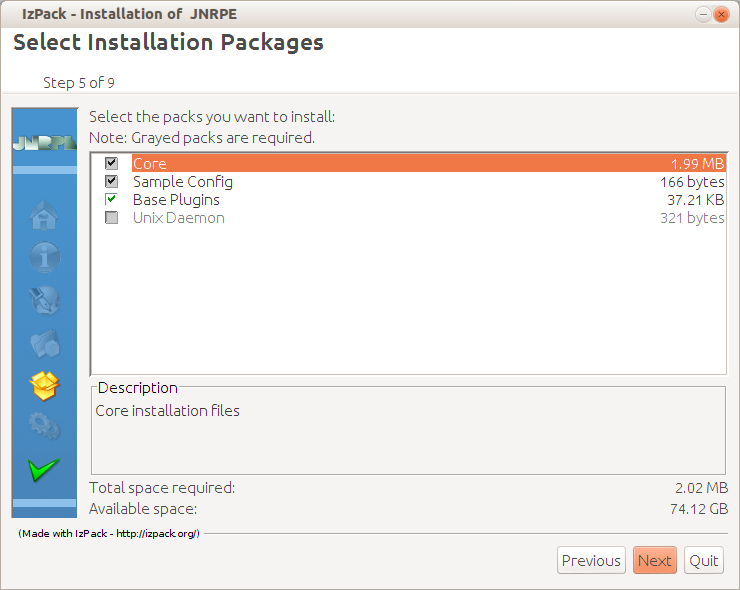
The Packages Panel
This panel allows the selection of the packages you want to install. The available choices are:
- Core : you can't unselect this package as it is the heart of JNRPE
- Sample Config : a base jnrpe.ini file configuring JNRPE with just the test command.
- Base Plugins : the plugins package bundled with JNRPE.
- Unix Daemon/Windows Service : you can choose if you want JNRPE to be installed as Unix Daemon on Unix or as a Windows Service on Windows
When you are happy with the installation, click next: the summary panel will appear.
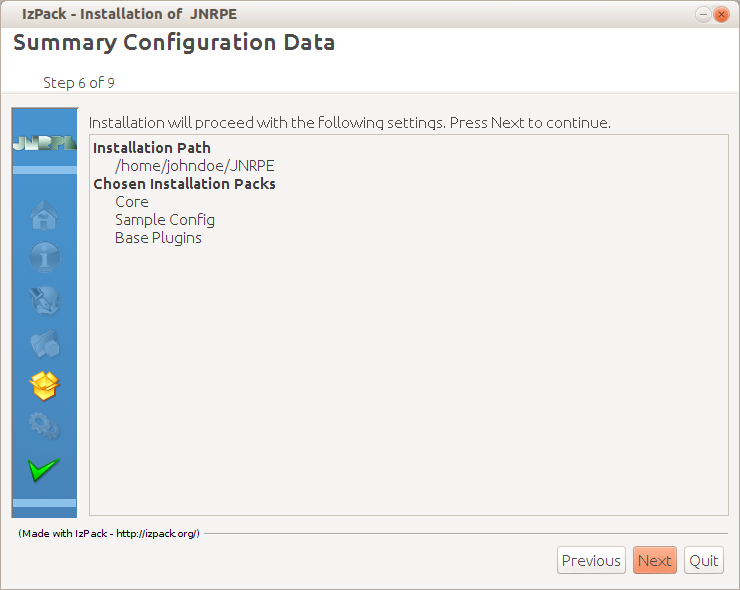
The Summary Panel
This is your last chance to cancel or modify the installation. A summary of your decisions is visualized. If you want to change something, click 'Previous', otherwise click next: the Installation Panel will be visualized.
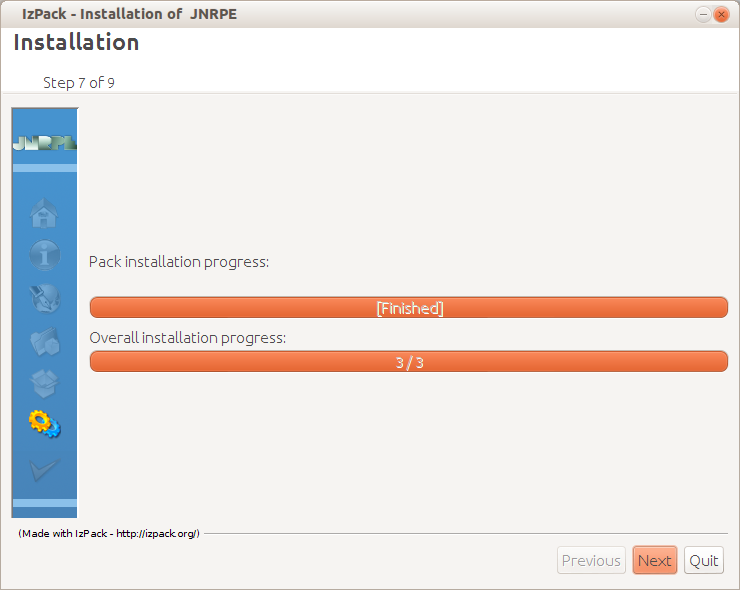
The Installarion Panel
Here you can look at the installation progress. When it has finished, you can click on next.
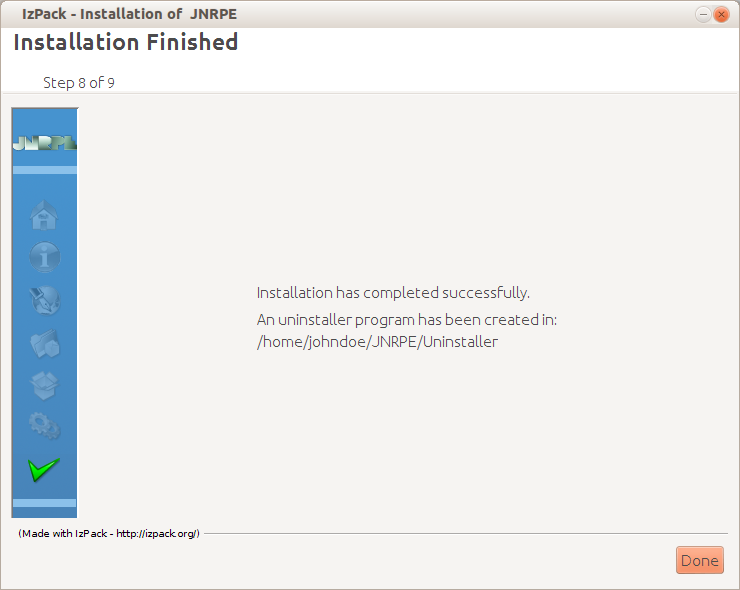
The Installation Finished Panel
Here you can see a message saying whether the installation has been successful or not and where the uninstaller can be found.